Strawberry Shortcake Icebox Cake
Highlighted under: Classic Sweet Baking
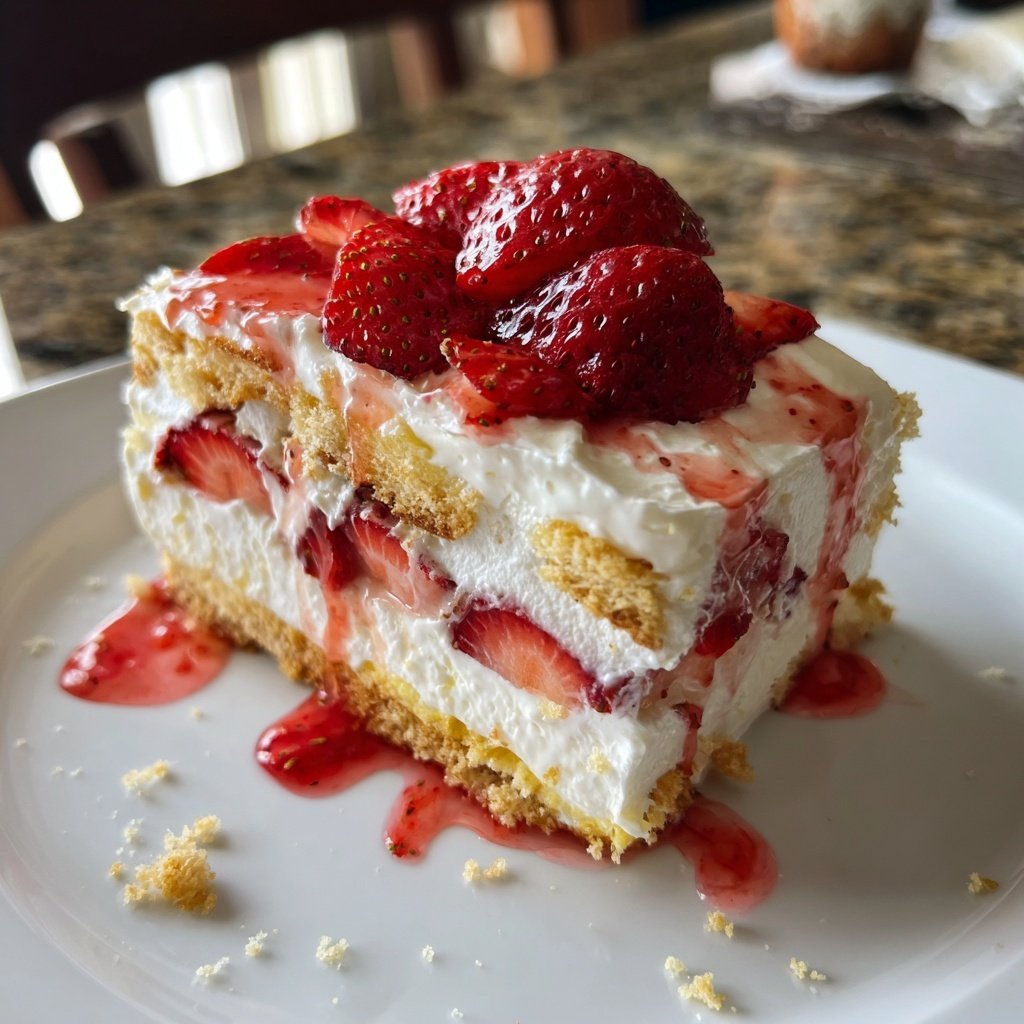
I absolutely adore making this Strawberry Shortcake Icebox Cake during the warm months. The combination of fresh strawberries and creamy layers is simply irresistible! It’s a no-bake dessert that’s both easy and impressive, perfect for gatherings or a special treat at home. I love how the flavors meld together after chilling, creating a delicious, refreshing cake. Plus, it’s a fantastic way to showcase ripe, juicy strawberries. Trust me, each bite is a delightful celebration of summer.
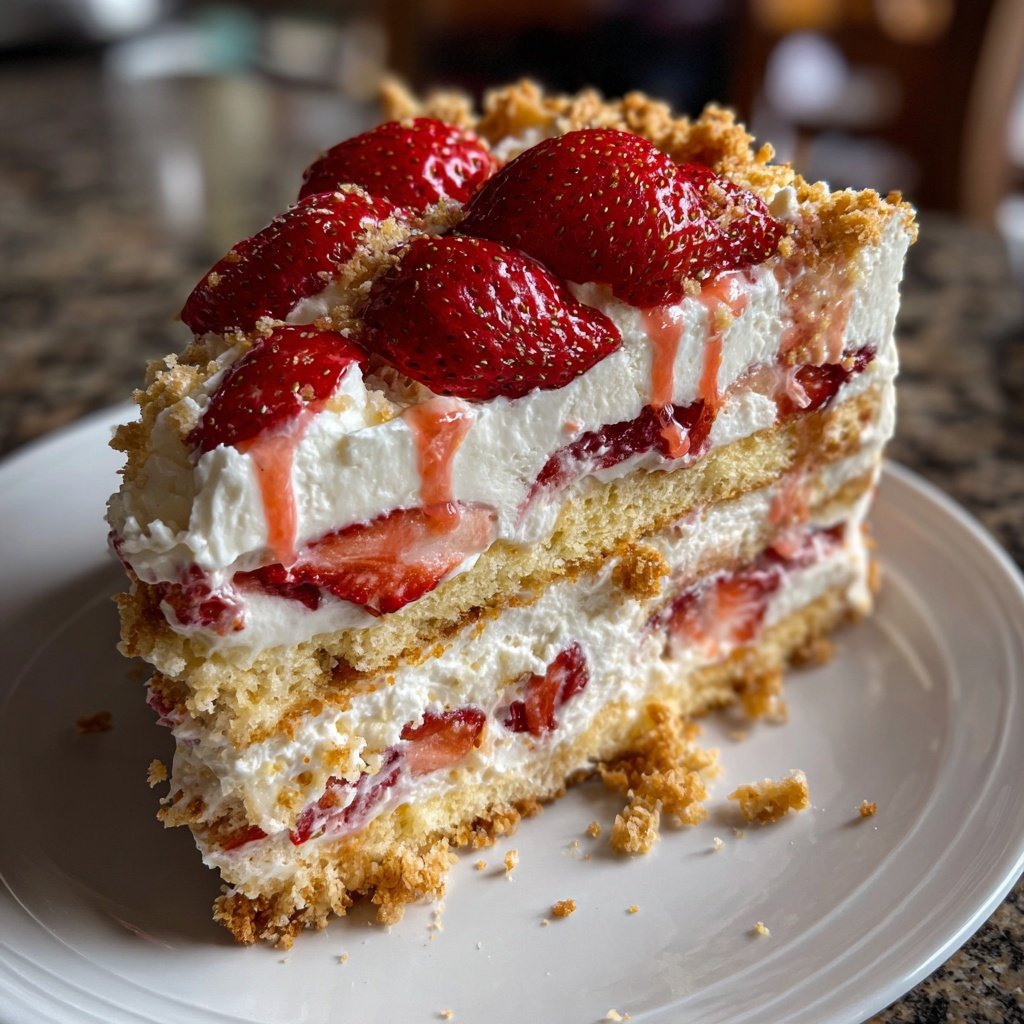
Making this Strawberry Shortcake Icebox Cake has become a cherished tradition in my home. I vividly remember the first time I crafted it for a summer barbecue, and the smiles on everyone’s faces as they took their first bite were unforgettable. The layers of whipped cream and strawberries create a wonderfully light dessert that beats the heat!
I discovered that letting it chill for at least four hours really enhances the flavors. The cake softens beautifully, making it incredibly easy to slice and serve. It's a simple yet stunning dessert that never fails to impress my guests.
Why You'll Love This Recipe
- Fresh strawberries that burst with flavor
- Creamy texture that balances perfectly with the cake
- An easy, no-bake dessert ideal for hot summer days
The Role of Fresh Strawberries
Fresh strawberries are the star ingredient in this Strawberry Shortcake Icebox Cake, providing both flavor and color. Choosing the right strawberries is crucial; look for bright red, firm berries with a natural shine. They should smell fragrant, indicating ripeness. If you're unsure, taste one! The sweeter and juicier the strawberries, the more depth of flavor they'll add to your cake.
Additionally, consider using a mix of strawberries for a unique twist. Varieties like Albion or Seascape are known for their sweetness and can enhance the flavor complexity in this cake. After slicing, tossing them with a bit of sugar not only enhances their sweetness but also draws out their juices, creating a delightful syrup that will soak into the cake layers.
Whipping Cream Technique
Achieving the perfect whipped cream is essential for a light and fluffy texture. Start with chilled equipment; using a cold mixing bowl and whisk will help the cream whip faster and hold its shape. I often place my mixing bowl in the freezer for a few minutes before whipping. Whip the cream until soft peaks form—this means the cream should hold a shape but still be glossy and smooth, not grainy or clumpy.
If you're looking for stability, adding a tablespoon of cornstarch or instant pudding mix to the cream when you start whipping can help maintain the texture for longer, especially in a warm environment. Remember not to over-whip, as this can lead to a grainy texture and eventually, butter.
Assembling and Storing Your Cake
When assembling the cake, make sure to use a rectangular dish that allows for generous layering. The sponge cake or ladyfingers should be layered tightly yet comfortably in the dish to soak up the strawberry juices and cream mixture evenly. If using ladyfingers, consider slightly moistening them in a mixture of water and a splash of vanilla extract for an extra layer of flavor.
Once assembled, the icebox cake must be refrigerated for at least 4 hours, but overnight is ideal. This resting period not only helps the flavors meld but also allows the textures to soften and blend beautifully. For storage, cover the cake tightly with plastic wrap to prevent it from absorbing any odors from the fridge. Enjoy your cake within 2-3 days for the best taste.
Ingredients
Ingredients
For the Cake
- 1 pound of fresh strawberries, hulled and sliced
- 1 cup heavy whipping cream
- 1 cup powdered sugar
- 1 teaspoon vanilla extract
- 8 ounces of cream cheese, softened
- 12 to 14 layers of sponge cake or ladyfingers
Make sure to use ripe strawberries for the best flavor!
Instructions
Instructions
Prepare the Strawberries
In a bowl, combine sliced strawberries with a tablespoon of powdered sugar. Allow them to sit for about 15 minutes to release their juices.
Make the Cream Mixture
In a large mixing bowl, whip together the heavy whipping cream, remaining powdered sugar, and vanilla extract until soft peaks form. In a separate bowl, beat the softened cream cheese until smooth, then gently fold in the whipped cream mixture until fully incorporated.
Assemble the Cake
In a rectangular dish, layer the sponge cake or ladyfingers at the bottom. Spread half of the cream mixture over the cake, followed by half of the strawberries. Repeat the layers until all ingredients are used, finishing with cream on top.
Chill
Cover the dish with plastic wrap and refrigerate for a minimum of 4 hours, but preferably overnight to let the flavors meld.
Serve
Once chilled, slice and serve the cake garnished with additional strawberries if desired.
Enjoy this refreshing cake on a hot summer day!
Pro Tips
- For an extra touch, you can drizzle some chocolate over the top before serving.
Flavor Variations
While this recipe shines with strawberries, feel free to experiment with other fruits! Raspberries, blueberries, or even peaches can complement the cream beautifully. If you use more than one type of berry, aim for a balanced mix to ensure each layer bursts with flavor. Remember to adjust the sugar levels to match the sweetness of whichever fruits you select.
For a twist on flavor, consider adding a layer of citrus zest—such as lemon or orange—into the cream mixture. This will add a refreshing brightness that contrasts nicely with the sweetness of the strawberries. I recommend starting with about a teaspoon of zest to avoid overwhelming the creamy base, and adjust to taste.
Troubleshooting Common Issues
If your whipped cream isn’t holding its shape, it may not have been whipped sufficiently. To remedy this, gently re-whip the cream until it reaches soft peaks. Conversely, if it appears too stiff or grainy, it may be over-whipped; you can salvage it by adding a splash of heavy cream and gently folding it back to a smoother consistency.
If your cake has a tendency to become overly soggy, consider layering less fruit in each round or increasing the refrigeration time, which allows the sponge or ladyfingers to soak just enough juice without falling apart. Additionally, using a denser sponge cake can help absorb excess moisture while maintaining structure.
Make-Ahead Tips
This Strawberry Shortcake Icebox Cake is perfect for make-ahead desserts, making it a great choice for gatherings. You can prepare it up to 48 hours in advance; just ensure it’s well-covered in the fridge. If you want to add toppings like fresh whipped cream or extra berries, I recommend doing that just before serving for pristine freshness.
You can also divide your recipe into smaller individual servings using parfait glasses. This not only makes an elegant presentation but also allows guests to choose their portions. Each glass can be prepped a day ahead, saving you time and effort when hosting.
Questions About Recipes
→ Can I make this recipe ahead of time?
Yes! This cake can be made a day ahead since it actually benefits from chilling overnight.
→ What can I use instead of strawberries?
You can substitute with other berries like blueberries, raspberries, or even peaches in season.
→ Do I have to use cream cheese?
While cream cheese adds tanginess, you can skip it for a lighter version, just use whipped cream.
→ How long does this cake last in the refrigerator?
It’s best enjoyed within 3 to 4 days. Just make sure to cover it well!
Strawberry Shortcake Icebox Cake
Created by: Summer Blake
Recipe Type: Classic Sweet Baking
Skill Level: Easy
Final Quantity: 8 servings
What You'll Need
For the Cake
- 1 pound of fresh strawberries, hulled and sliced
- 1 cup heavy whipping cream
- 1 cup powdered sugar
- 1 teaspoon vanilla extract
- 8 ounces of cream cheese, softened
- 12 to 14 layers of sponge cake or ladyfingers
How-To Steps
In a bowl, combine sliced strawberries with a tablespoon of powdered sugar. Allow them to sit for about 15 minutes to release their juices.
In a large mixing bowl, whip together the heavy whipping cream, remaining powdered sugar, and vanilla extract until soft peaks form. In a separate bowl, beat the softened cream cheese until smooth, then gently fold in the whipped cream mixture until fully incorporated.
In a rectangular dish, layer the sponge cake or ladyfingers at the bottom. Spread half of the cream mixture over the cake, followed by half of the strawberries. Repeat the layers until all ingredients are used, finishing with cream on top.
Cover the dish with plastic wrap and refrigerate for a minimum of 4 hours, but preferably overnight to let the flavors meld.
Once chilled, slice and serve the cake garnished with additional strawberries if desired.
Extra Tips
- For an extra touch, you can drizzle some chocolate over the top before serving.
Nutritional Breakdown (Per Serving)
- Calories: 250 kcal
- Total Fat: 15g
- Saturated Fat: 9g
- Cholesterol: 60mg
- Sodium: 100mg
- Total Carbohydrates: 26g
- Dietary Fiber: 1g
- Sugars: 15g
- Protein: 4g